You know there is a spot worth checking. Finding its exact outline is another matter. A UV flashlight can help you notice fluorescent traces on floors, fabrics and other surfaces, but the useful result is a careful observation—not an instant verdict about what a stain contains.
Our DARKBEAM approach starts with a simple sequence: prepare the room, inspect in small sections, mark what you see, then return to ordinary light before deciding what to do. This keeps the flashlight in its proper role and makes the information easier to use. You do not need to turn a household check into a forensic investigation.
What UV can show you
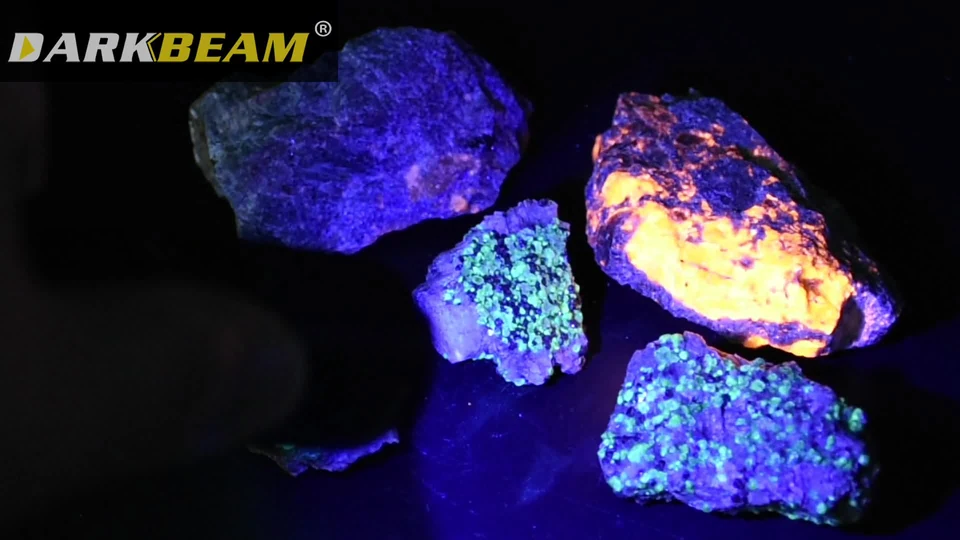
Some substances absorb ultraviolet light and emit visible light. This fluorescence can make a trace stand out against its surroundings. It is the same broad phenomenon that makes certain minerals or fluorescent materials appear unusually bright under a suitable source. Different materials respond differently, even when they look similar in daylight.
A UV flashlight may help reveal dried residues that are difficult to locate under normal lighting. However, cleaners, optical brighteners, fibers and other everyday materials can also respond. Color alone does not reliably identify the substance. The shape, location, history and ordinary-light appearance of a patch all matter.
An area that does not glow is not proven clean. An area that does glow is not proven unhygienic. UV does not measure the number of microbes present, identify every contaminant or establish whether a surface is safe to touch. Keep the purpose narrow: locate and compare visible responses so you can investigate or clean more methodically.
A useful inspection gives you a map of what to check next. It does not turn every bright patch into an answer.
DARKBEAM home inspection guide
Prepare before darkening the room
Start in normal light. Pick up loose objects and identify trip hazards, steps and reflective surfaces. Keep children and pets out of the inspection area. Set aside a white-light flashlight so you can move safely without using the UV beam as a substitute for room lighting.
Check that the UV flashlight is charged or fitted with the correct batteries. Read the instructions for the exact model, including its charging input and handling precautions. A small light that is easy to aim can be more useful indoors than a larger model that makes the inspection awkward.
Keep removable markers nearby. A small piece of suitable low-tack tape placed beside a suspected area can help you find it after turning the lights back on. Test tape on a discreet area first and avoid delicate surfaces. Paper notes or a quick sketch are alternatives when adhesive would be unsuitable.
Darken the room enough to improve contrast, without making the space difficult to navigate. If curtains cannot block daylight, choose a later time. Keep your white light within reach. You should not need to walk across a dark room while staring down at a violet pool on the floor.
Choose a manageable light
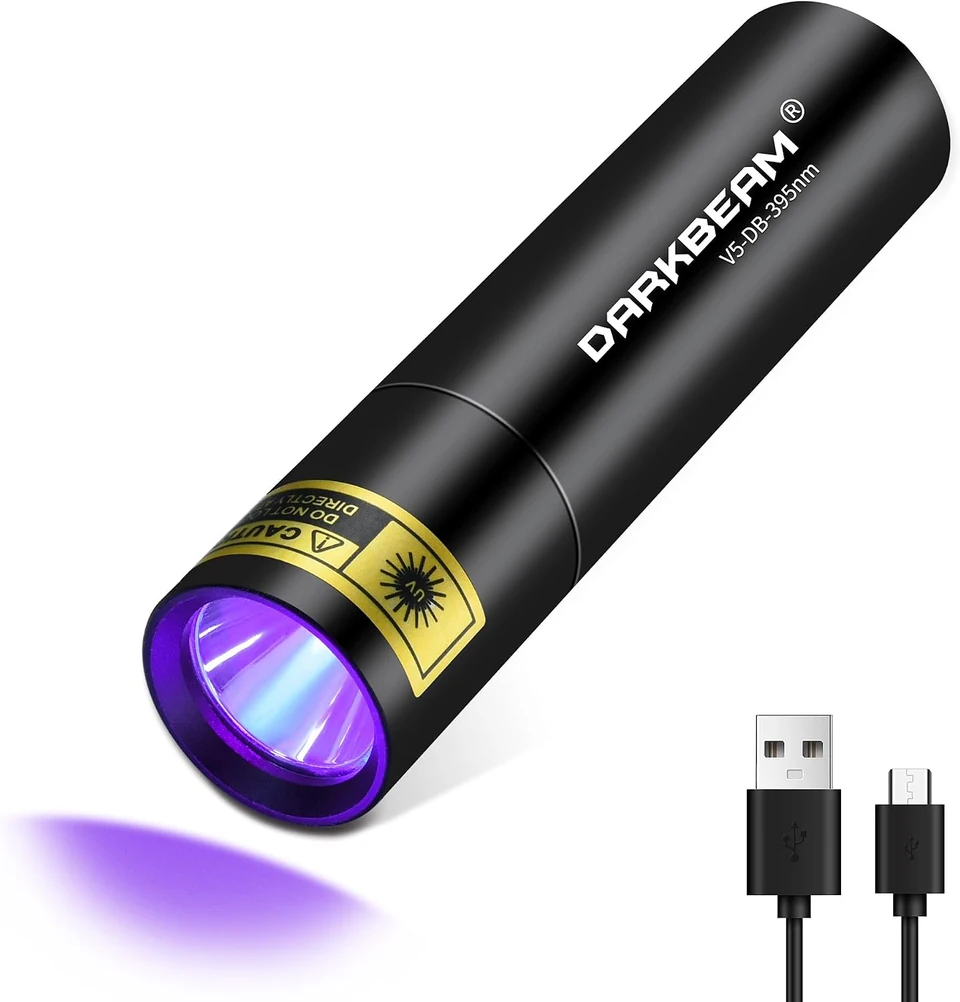
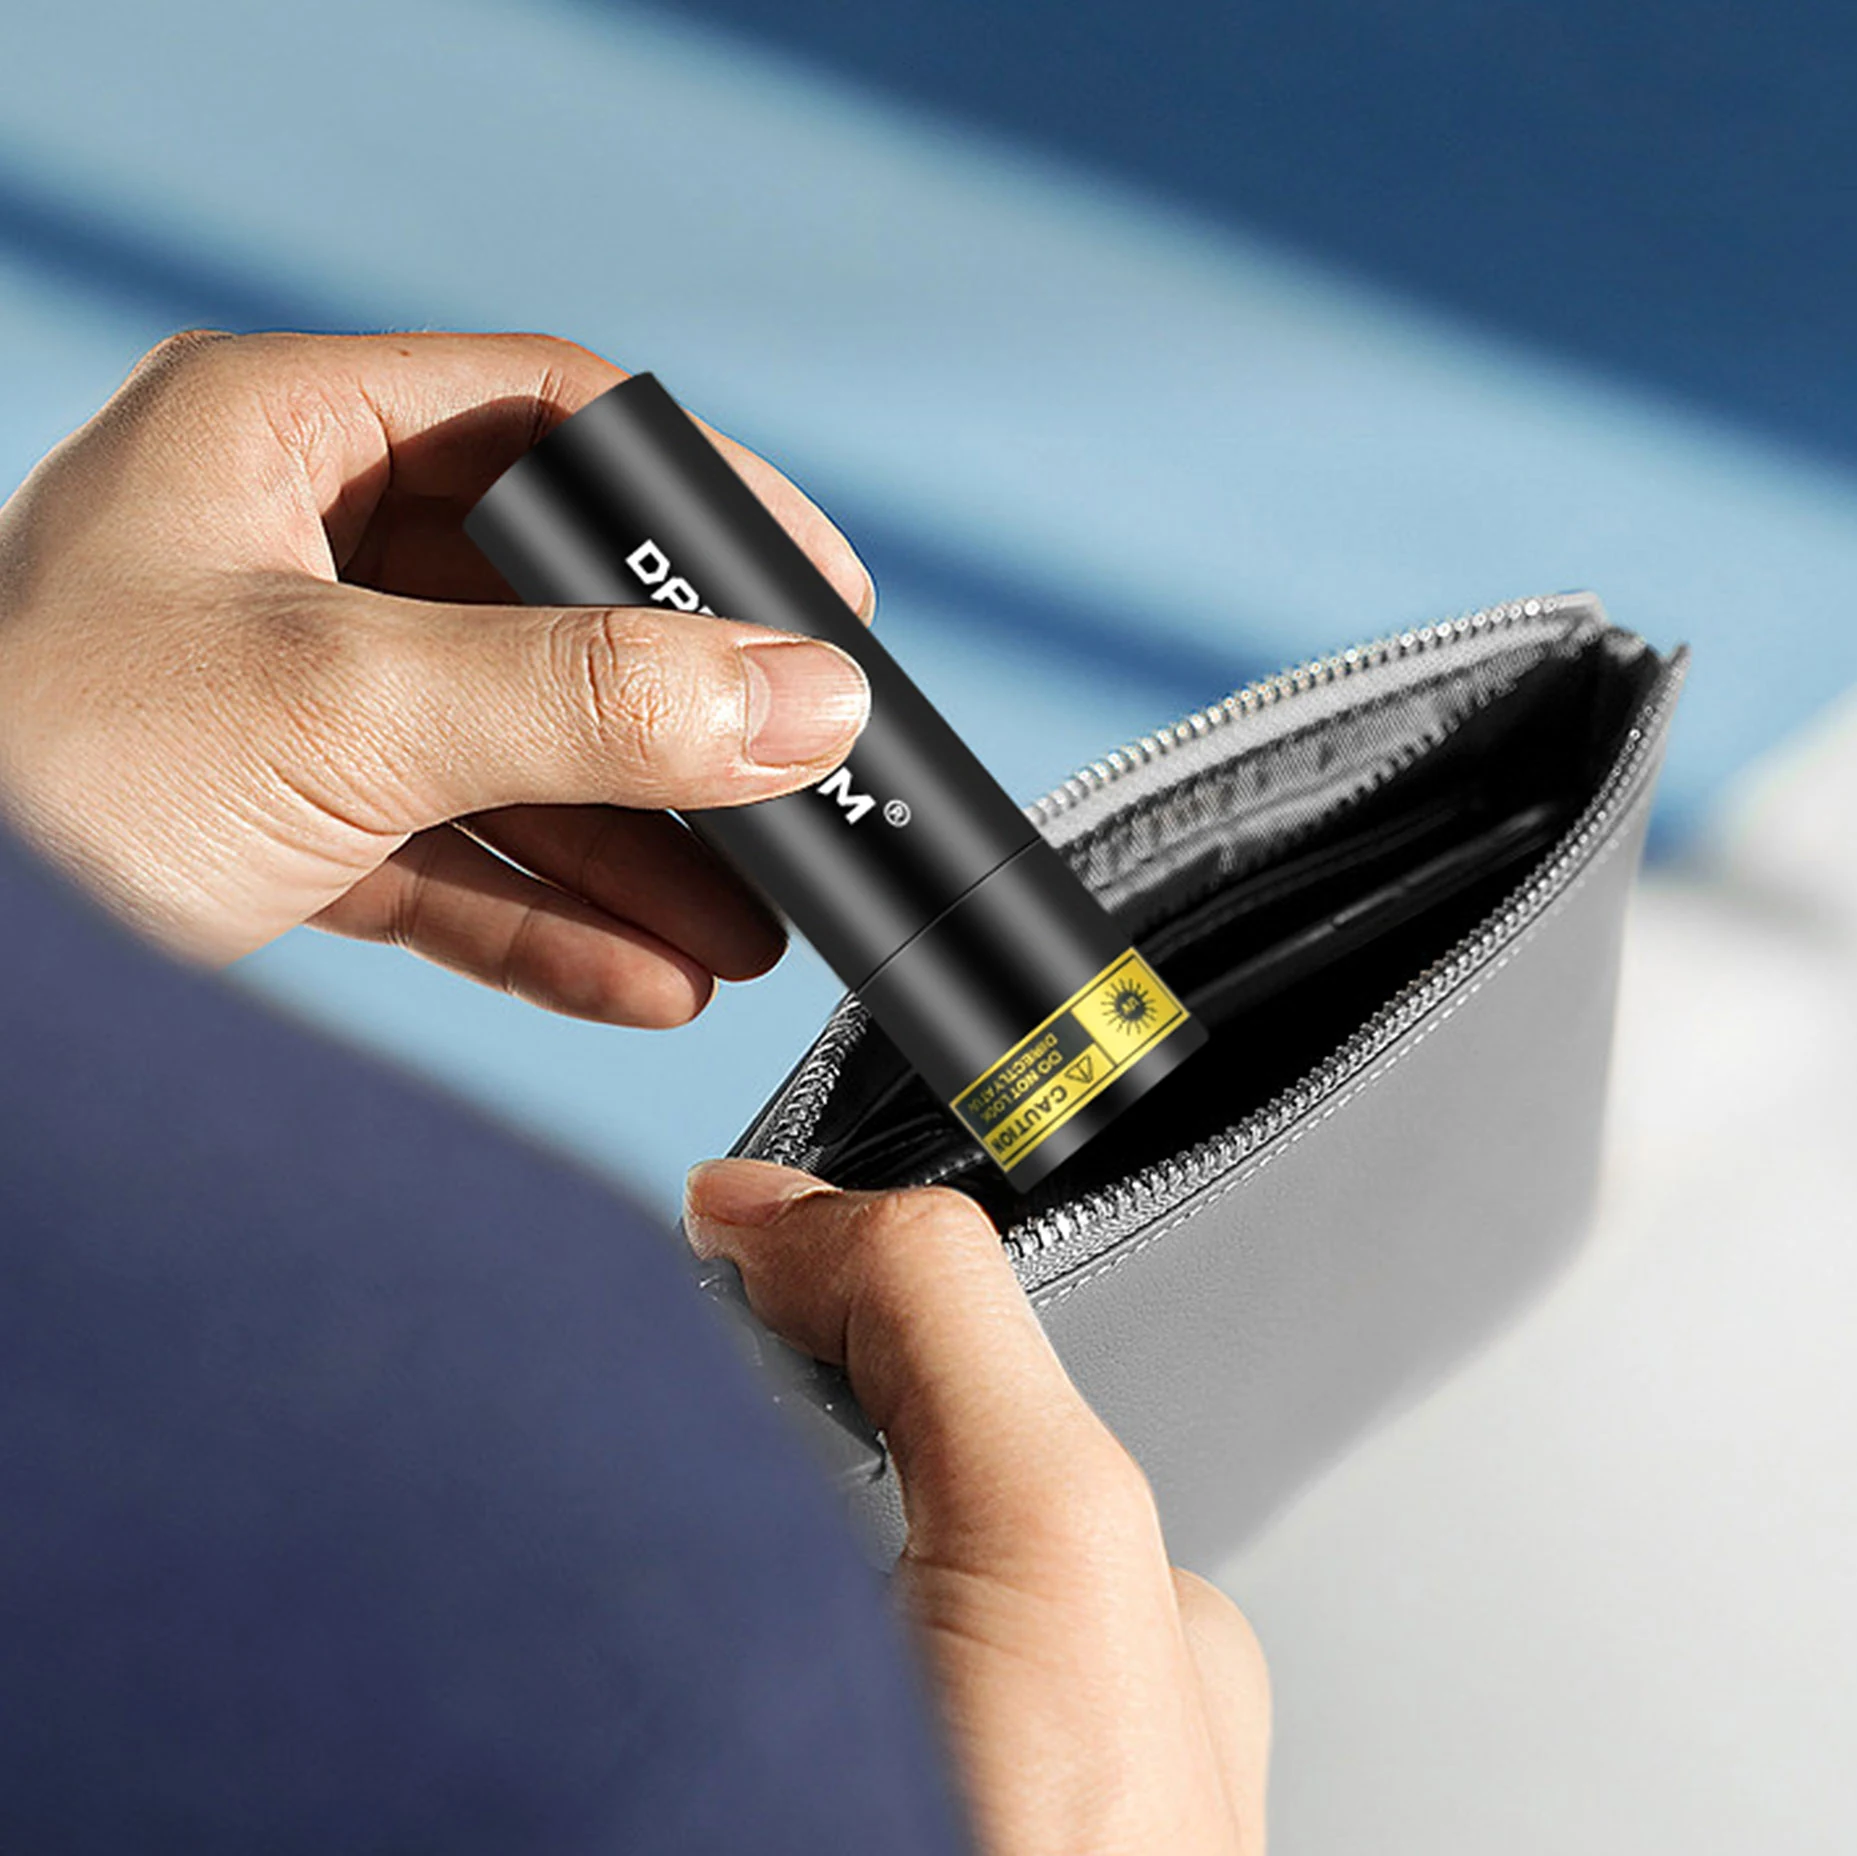
Our 395nm UV collection includes compact lights for close-range inspection. Their violet beam is easy to see while aiming. Our 365nm collection includes filtered options that reduce visible spill, which can make some fluorescent responses easier to distinguish.
There is no single wavelength that guarantees every household residue will appear. The surface, substance, room light and distance all affect the result. If you want to understand the trade-offs before selecting a model, read our 365nm versus 395nm guide . It explains why a brighter-looking purple beam is not a measurement of UV performance.
For a straightforward pocket format, explore the V5 395nm family. For filtered 365nm inspection, compare the V4 and V82 configurations. If two people will inspect separate spaces, a two-light set may be more useful than one dual-mode body. Check the exact wavelength and pack count on the card before opening the offer.
Scan one small area at a time
Divide the room into a simple route: doorway, perimeter, furniture edges and then open floor. This reduces the chance of repeatedly checking an obvious area while missing a corner. Work from a stable position and move the beam slowly enough to notice changes.
Begin with a short, comfortable working distance rather than pressing the lamp against the surface. Adjust the angle and distance gradually. Looking at a patch from another angle may help distinguish a reflection from a response within the material. Avoid directing the beam toward eyes, skin, pets or highly reflective objects.
If the flashlight has adjustable focus, use a broader beam for the first scan and a narrower view to examine a smaller area. Keep the setting consistent when comparing neighboring patches. A change in beam size can change apparent brightness even when the material has not changed.
Mark the boundary beside the patch, then write down where it is. A phone photo can be useful, but automatic exposure and white balance may change the apparent color or intensity. Do not treat two photographs taken with different settings as a measured before-and-after result.
| Observation | Possible explanation | Next step |
|---|---|---|
| A distinct fluorescent patch | A residue or a material that responds to UV | Mark it and inspect again in white light. |
| The entire fabric looks bright | The fibers or their treatment may fluoresce | Compare with an unaffected area of the same material. |
| A patch changes with viewing angle | Reflection, texture or uneven illumination | Change your position while keeping a safe beam direction. |
| No visible response | The material may not respond under these conditions | Use ordinary inspection and the relevant cleaning instructions. |
| A response remains after cleaning | Residual material, cleaner or the surface itself | Allow the surface to dry and reassess without assuming failure. |
Interpret the pattern before choosing a treatment
Turn the room lights back on. Look at the marked area for discoloration, texture changes, dampness or other ordinary signs. Think about what has happened there: a spilled drink, a recent cleaning treatment, a pet accident or normal wear. The history may be more informative than the fluorescence color.
Compare like materials. A carpet patch and a nearby plastic baseboard are different surfaces, so a difference in brightness is not surprising. A useful comparison is an apparently unaffected area of the same carpet, under similar light and at the same distance.
If the result concerns a valuable textile, antique, electrical appliance or unknown chemical, stop before experimenting. Follow the item's care instructions or ask an appropriate professional. A flashlight can help locate a concern, but it cannot determine which chemical or cleaning process is safe for every material.
Do not use a household UV inspection as a medical or veterinary examination. Some product listings use clinical-sounding terms, but a portable consumer light cannot establish a diagnosis. If a person or animal has a health concern, the next step belongs with a qualified clinician or veterinarian.
Clean according to the material
Choose a treatment suited to the surface and the suspected residue. Read the cleaner's label, test in an inconspicuous area where appropriate, and follow its dilution, dwell-time and drying instructions. More product or more scrubbing is not automatically a better result.
Keep cleaning and UV inspection as separate steps. Put the flashlight aside while applying a treatment. Do not mix cleaning products or improvise a chemical combination to remove a glow. Follow the product's ventilation and protective-equipment instructions, and keep the area inaccessible to children and animals for the stated period.
Once the surface has dried as directed, inspect it again using approximately the same light, distance and room conditions. A remaining fluorescent response may come from the cleaner, the material itself or a residual trace. It does not prove that the cleaning process failed, just as a reduced glow does not certify disinfection.
Record what changed and what did not. If an odor or visible stain persists, use the relevant cleaning or professional advice rather than repeatedly increasing UV exposure. The purpose of the light is to help you locate and compare, not to replace a proper cleaning method.
A repeatable room-check routine
- Inspect the room in white light and remove trip hazards.
- Prepare the correct flashlight, a white-light backup and suitable markers.
- Darken the room and scan in a planned order.
- Mark interesting areas without touching them with the lamp.
- Return to ordinary light and consider the surface and its history.
- Clean only with a method suitable for the material.
- Let the area dry, then compare under similar conditions.
This routine is deliberately simple. It helps prevent a common mistake: rushing from an unfamiliar fluorescent patch to an aggressive treatment. A few notes and a consistent setup are often more useful than a dramatic photograph.
Look after the flashlight between checks
Switch the light off before putting it down or storing it. Keep the front lens clean using the method recommended for the model, and avoid scratching a filter. Inspect the charging port and cable for damage. Do not charge a wet or damaged light, and do not assume that water resistance means it can be immersed or washed under a tap.
Store the flashlight where children cannot activate it accidentally. Keep rechargeable products away from excessive heat and follow the supplied battery instructions. If a model behaves unusually, becomes excessively hot or has a damaged battery, stop using it. Our support page explains how to identify your configuration and find the appropriate help for an order.
Make the next check easier
Choose a place to keep the light, cable and notes together. If you regularly inspect more than one area, label your record by room and surface. You will spend less time trying to remember whether a bright patch was there before, and more time acting on the information that matters.
For a home kit that also covers power cuts, outdoor tasks and hands-free work, pair UV with suitable white light. Our lighting-after-dark guide explains those roles. Start with the light you need for the job in front of you, then build a small collection of tools whose differences you understand.
Further reading
University of Colorado: fluorescence and UV precautions ; GIA: how excitation conditions affect fluorescence . Always follow the exact flashlight, surface and cleaning-product instructions.